
It’s wonderful to see visible mending gaining so much popularity as an option to make our loved clothes last longer. There are situations however, when mending holes with only a needle and threat is not enough. My husband’s sweater is the perfect example where just at the bottom of his sleeve, the knit was so threadbare in one area that it required the intervention of a patch. Here is the steb-by-step tutorial on how to fix a hole or a large worn area in a sweater by adding a home made patch.
If your sweater has a large hole or an area that is so worn that the threads are about to break, it’s a better idea to patch it with another stretch fabric to prevent the threads from breaking or the holes from getting bigger. Here is what you will need to make your own patch
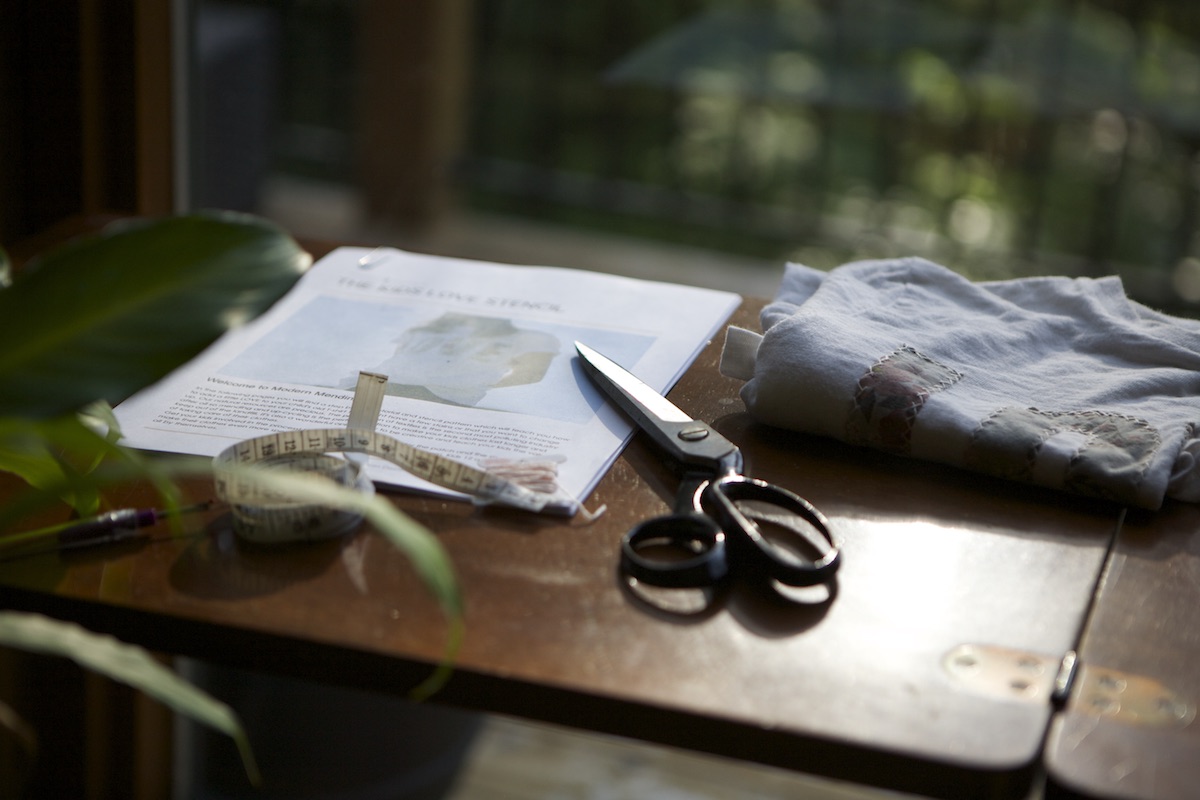
Supplies Needed
- Paper to make patch pattern or Skull Applique for a fun ready made pattern
- Paper and fabric scissors
- Scrap piece of t-shirt
- Pins
- Needle and thread
Step 1 : Measure Area
The size of the patch will be determined by the area you need to patch. Make the patch about 1/2″ larger than the worn area. This way you will prevent any more damage to the sweater.

Frayed are on sweater sleeve 
Measure worn area to be patched
Step 2: Make pattern
You can chose any shape you wish to cover up the hole or worn area. Below is an example of how you can make a circle patch: Fold paper in 4 and using a ruler, mark the circumference. For a 5″ wide patch, mark 2 1/2″ circumference. For this sweater, my husband requested his own skull patch from my collection of appliqué patterns. I used the smallest size of the kids applique pattern which was just a bit larger than the worn area.

Step 3: Cut patch
I really like to use jersey for patches on sweaters. T-shirt jersey doesn’t fray so it’s the ideal material to use without having to fold the edges over, which can add unnecessary bulk. Make sure to keep old t-shirts and worn leggings that are not in any shape to be donated. These make perfect material for patches. Click here to read my other blog post for more ideas on how you can upcycle old leggings.
For this patch, I used a lighter shade of grey for the skull and a dark grey that is similar to the colour of the sweater for the under layer for the skull eyes and nose.

Light grey jersey for skull patch 
Dark grey fabric from old leggings for eyes and nose
Pin the pattern to the fabric or trace pattern onto the fabric using a tailor’s chalk or a washable marker. Take your time cutting as you want to make sure it looks

Trace patch pattern with marker on reverse of fabric 
Trace pattern with fabric chalk on dark fabric
Step 4: Sew patch
Pin the patch over the worn area and sew the patch using the whip stitch. The whip stitch is an extendable stitch so it is ideal when sewing on knits because it will stretch along with the garment. Here’s a short video on how to do this very easy and versatile stitch.

Now my husband’s sweater has been promoted from “only at home” to “I can definitely wear this to work” which fills my heart with joy and gratitude. Joy, because it always feels wonderful to see my loved ones wearing something that I mended and gratitude because it means my small gesture has saved the garment from a worse fate, as well as saving us money from having to purchase another too soon.
