
As a designer and maker, it won’t come as a huge surprise to you that I have let my kids play with a needle and thread from a young age. Starting at 3 years old, they had a hoop, needle & thread in hand. My job mainly consisted of reminding them to not wrap the thread around the hoop, but up and down through the fabric. I could easily write a book about teaching kids to sew and mend at every age, but today, I want to share with you my favorite tips on how to teach older kids to fix their own clothes with a simple stitching technique and some visible mending.
To demonstrate, I decided to share the process of teaching my 8 year old son how to fix a tear in his favorite T-shirt.

As the tear was quite big, I decided to teach him a basic mending technique and then suggested he add a skull patch over it. The patch would reinforce the repair and would also be a way to personalize and embellish his shirt. He loved the idea.
So here’s how he did it.
Supplies Needed

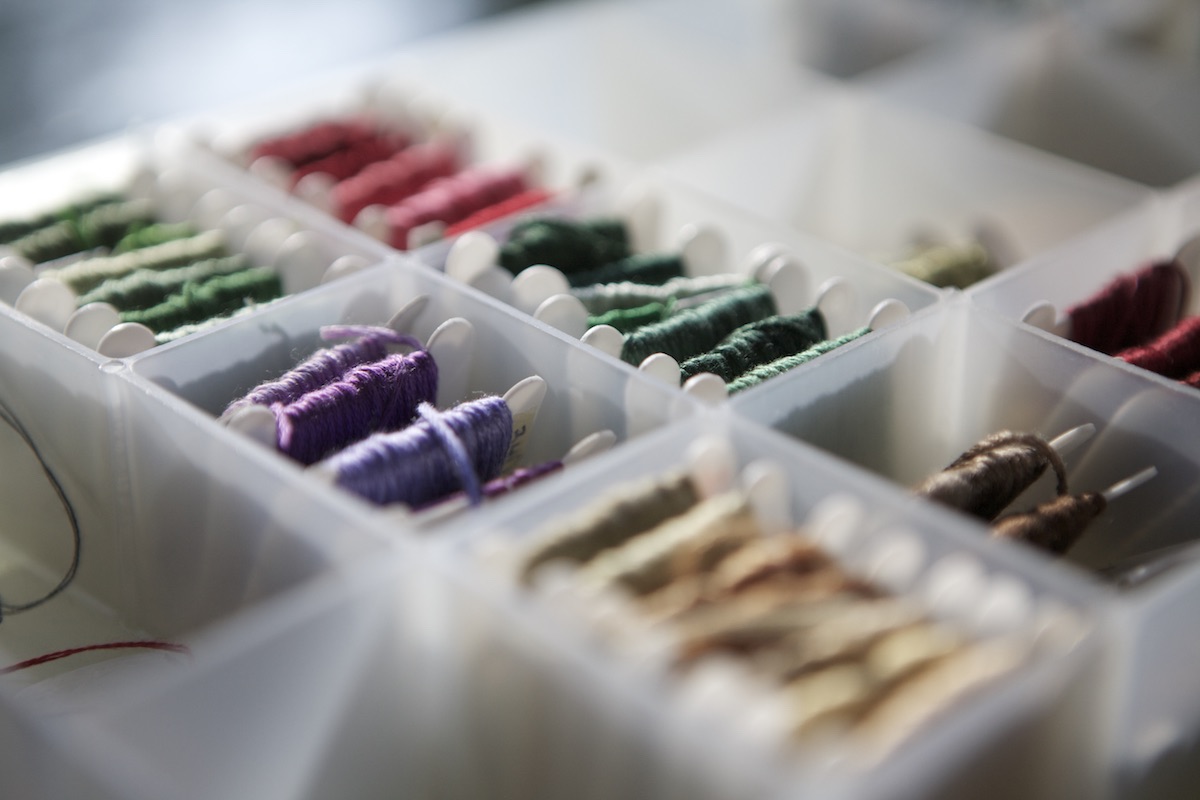
The image above is a snapshot of the essential tools to add to a mending kit. If you’re looking for a practical holiday gift for your child, I highly recommend putting one together for them. For this particular project, he used pretty much everything shown above except for the seam ripper:
- Needle & Thread (embroidery floss same color for repair and black for appliqué)
- 4″ embroidery hoop
- Old white and black t-shirt to cut out patch
- Modern Mending Skull Patch Pattern for jeans
- Marker to trace outline of skull on pattern pieces and on T-shirt
- Pins to secure applique to T-shirt
- Thread scissors
For this project, I used the size small pattern of the Kids Skull Patch for jeans. I cut the under layer from an old pair of black leggings that were too old to be donated, and cut the top of the patch from the leftover sleeve fabric from a white long sleeve t-shirt that I had turned into a short sleeved T. Turning old clothes into patches are my favorite way to keep unwearable pieces from the landfill.
Tip #1: Start with the basics

For the mending of the tear, I taught my son the whipstitch. Although it’s not the technique with the prettiest finishing, it’s probably the easiest stitch to learn. Above is a diagram taken from the MAKE DO AND MEND pattern tutorial, of how to do the stitch.

For repair, pinch both sides of the fabric together working on the reverse side of the t-shirt. Sew sides together doing the whipstitch and then pull the thread gently to secure the seam. Here’s what the seam will look like from the front side:
Tip #2: Let them make decisions
The best part of visible mending in my opinion, is the process of choosing the color of patches and thread. Give them a few options that are pre-approved by yourself to choose from if you’re a little bit OCD. My proposal for the skull: should it be black or white? By making their own decisions, they feel that this is their own design, and the limited options mean your personal sense of aesthetic is not put at risk.
Tip #3: Support by prepping and encouragement
For younger kids who are not as agile with scissors, it might be easier for you to cut the patches, thread the needle, and tie the knot.
As they get older, encourage them to do the cutting, threading and knotting, themselves. Praise effort and remind them that it doesn’t need to be perfect. Also, remind them and yourself of the great Bob Ross saying: “there are no mistakes, only happy accidents”
Tip #4: Be patient
The younger the child, the shorter the attention span. This project was done over the course of a few days with my 8 year old working about 15 minutes at a time on it. If your child get bored with it, let them move onto something else and make sure the project is in a visible place like the living room table so that they can pick it up easily. It then becomes a fun relaxing project rather than a task.
Click on the image below to see a short video of my son’s work in progress. He applied the patch using the backstitch.

Tip #5: Let them be creative
Here’s the final result of the repair. The crack on the head was his idea. I think it looks fabulous.

We noticed in the lining of the collar that the brand’s logo is actually a white skull with wings. He has now asked me if we could add wings to the skull so that it looks like the logo. I think I’m going to get him to sketch out the wings himself on a piece of paper so that he can be even more involved in the making of this next stage.
This is the beauty of teaching kids how to fix their clothes though visible mending. It allows them to be creative in a practical, economical and sustainable way.
If you enjoyed this post or have any questions, please let me know in the comments below. To find out when the next blog post is up, follow me on Facebook or Instagram.
Happy Mending!